Installation
You can integrate FLIZ in just a few minutes - you don't need any technical knowledge for this.
Installation Guide
The first step to installing FLIZpay in WooCommerce is to create a company account on our Website and follow the instructions in your account. In addition to the installation instructions in your company account, you'll find more details in this guide on how to start accepting payments with FLIZ.
Go to your WordPress admin page
Open your WordPress admin page in your browser.
Apply the following logic: yourURL.com/wp-admin, for example, for Amazon it would be amazon.de/wp-admin
Once you've signed in to your WordPress admin page, please click on Plugins in the menu on the left:
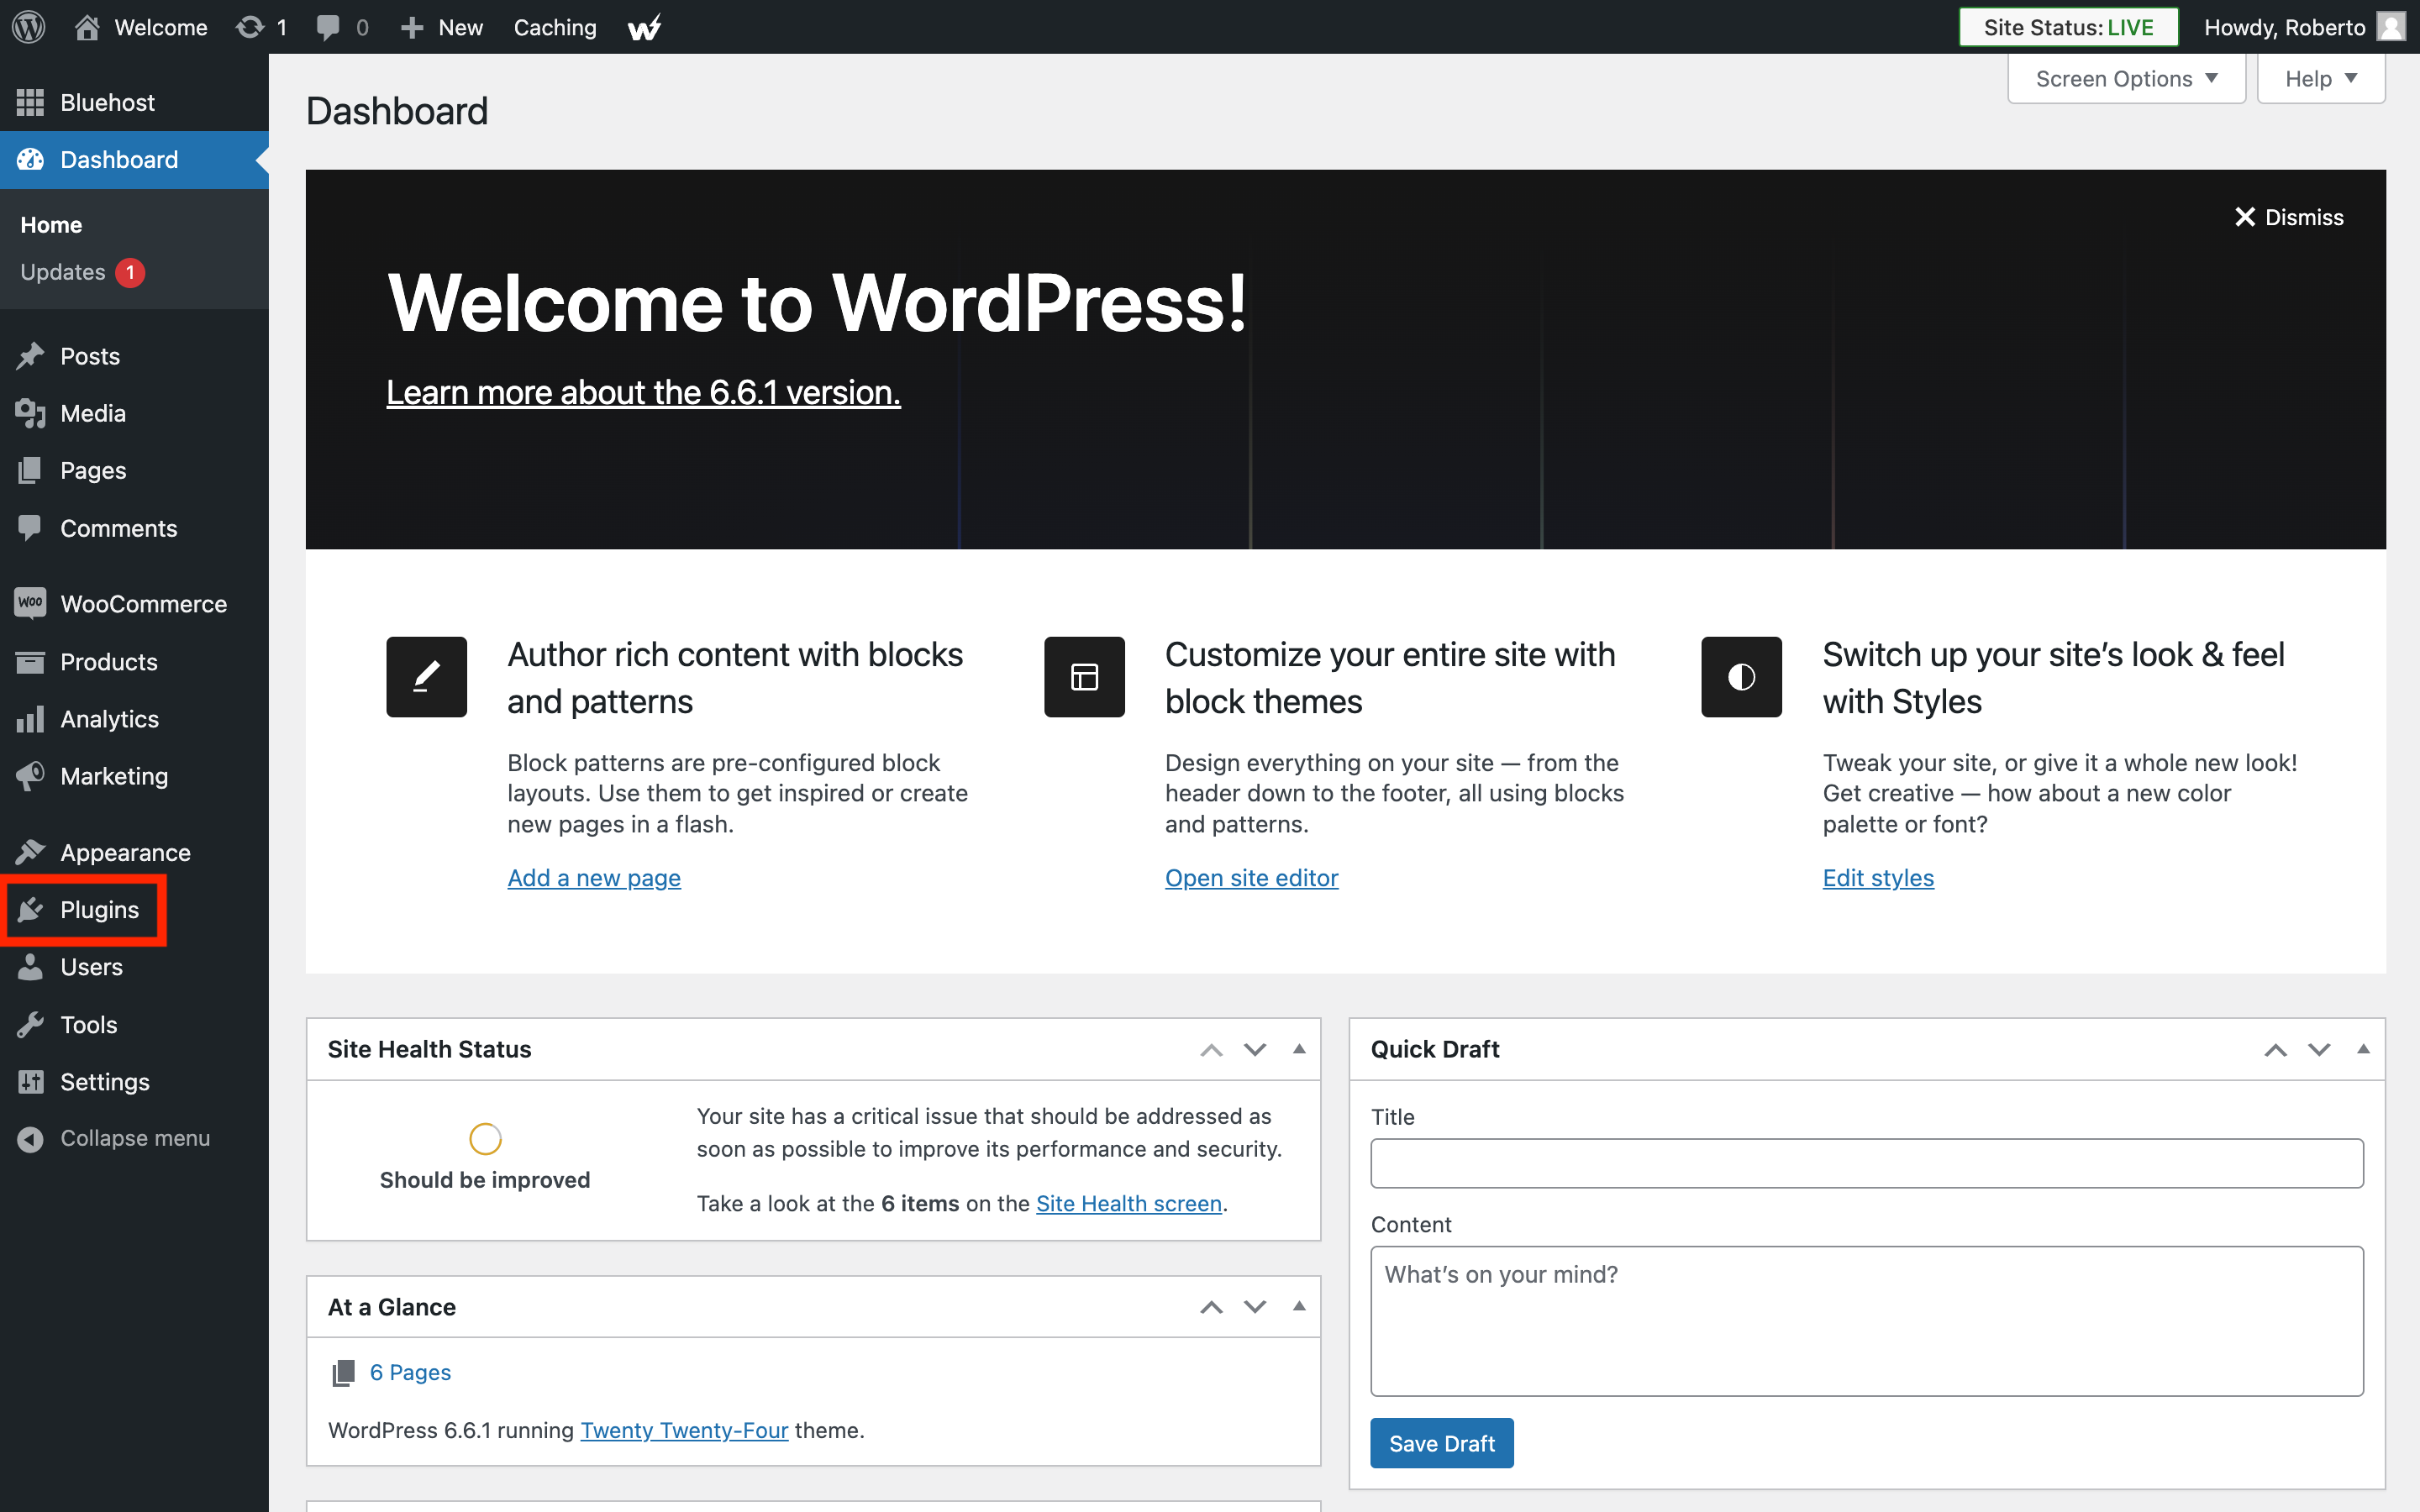
Then click on Add New Plugin in the sub-menu or on top.
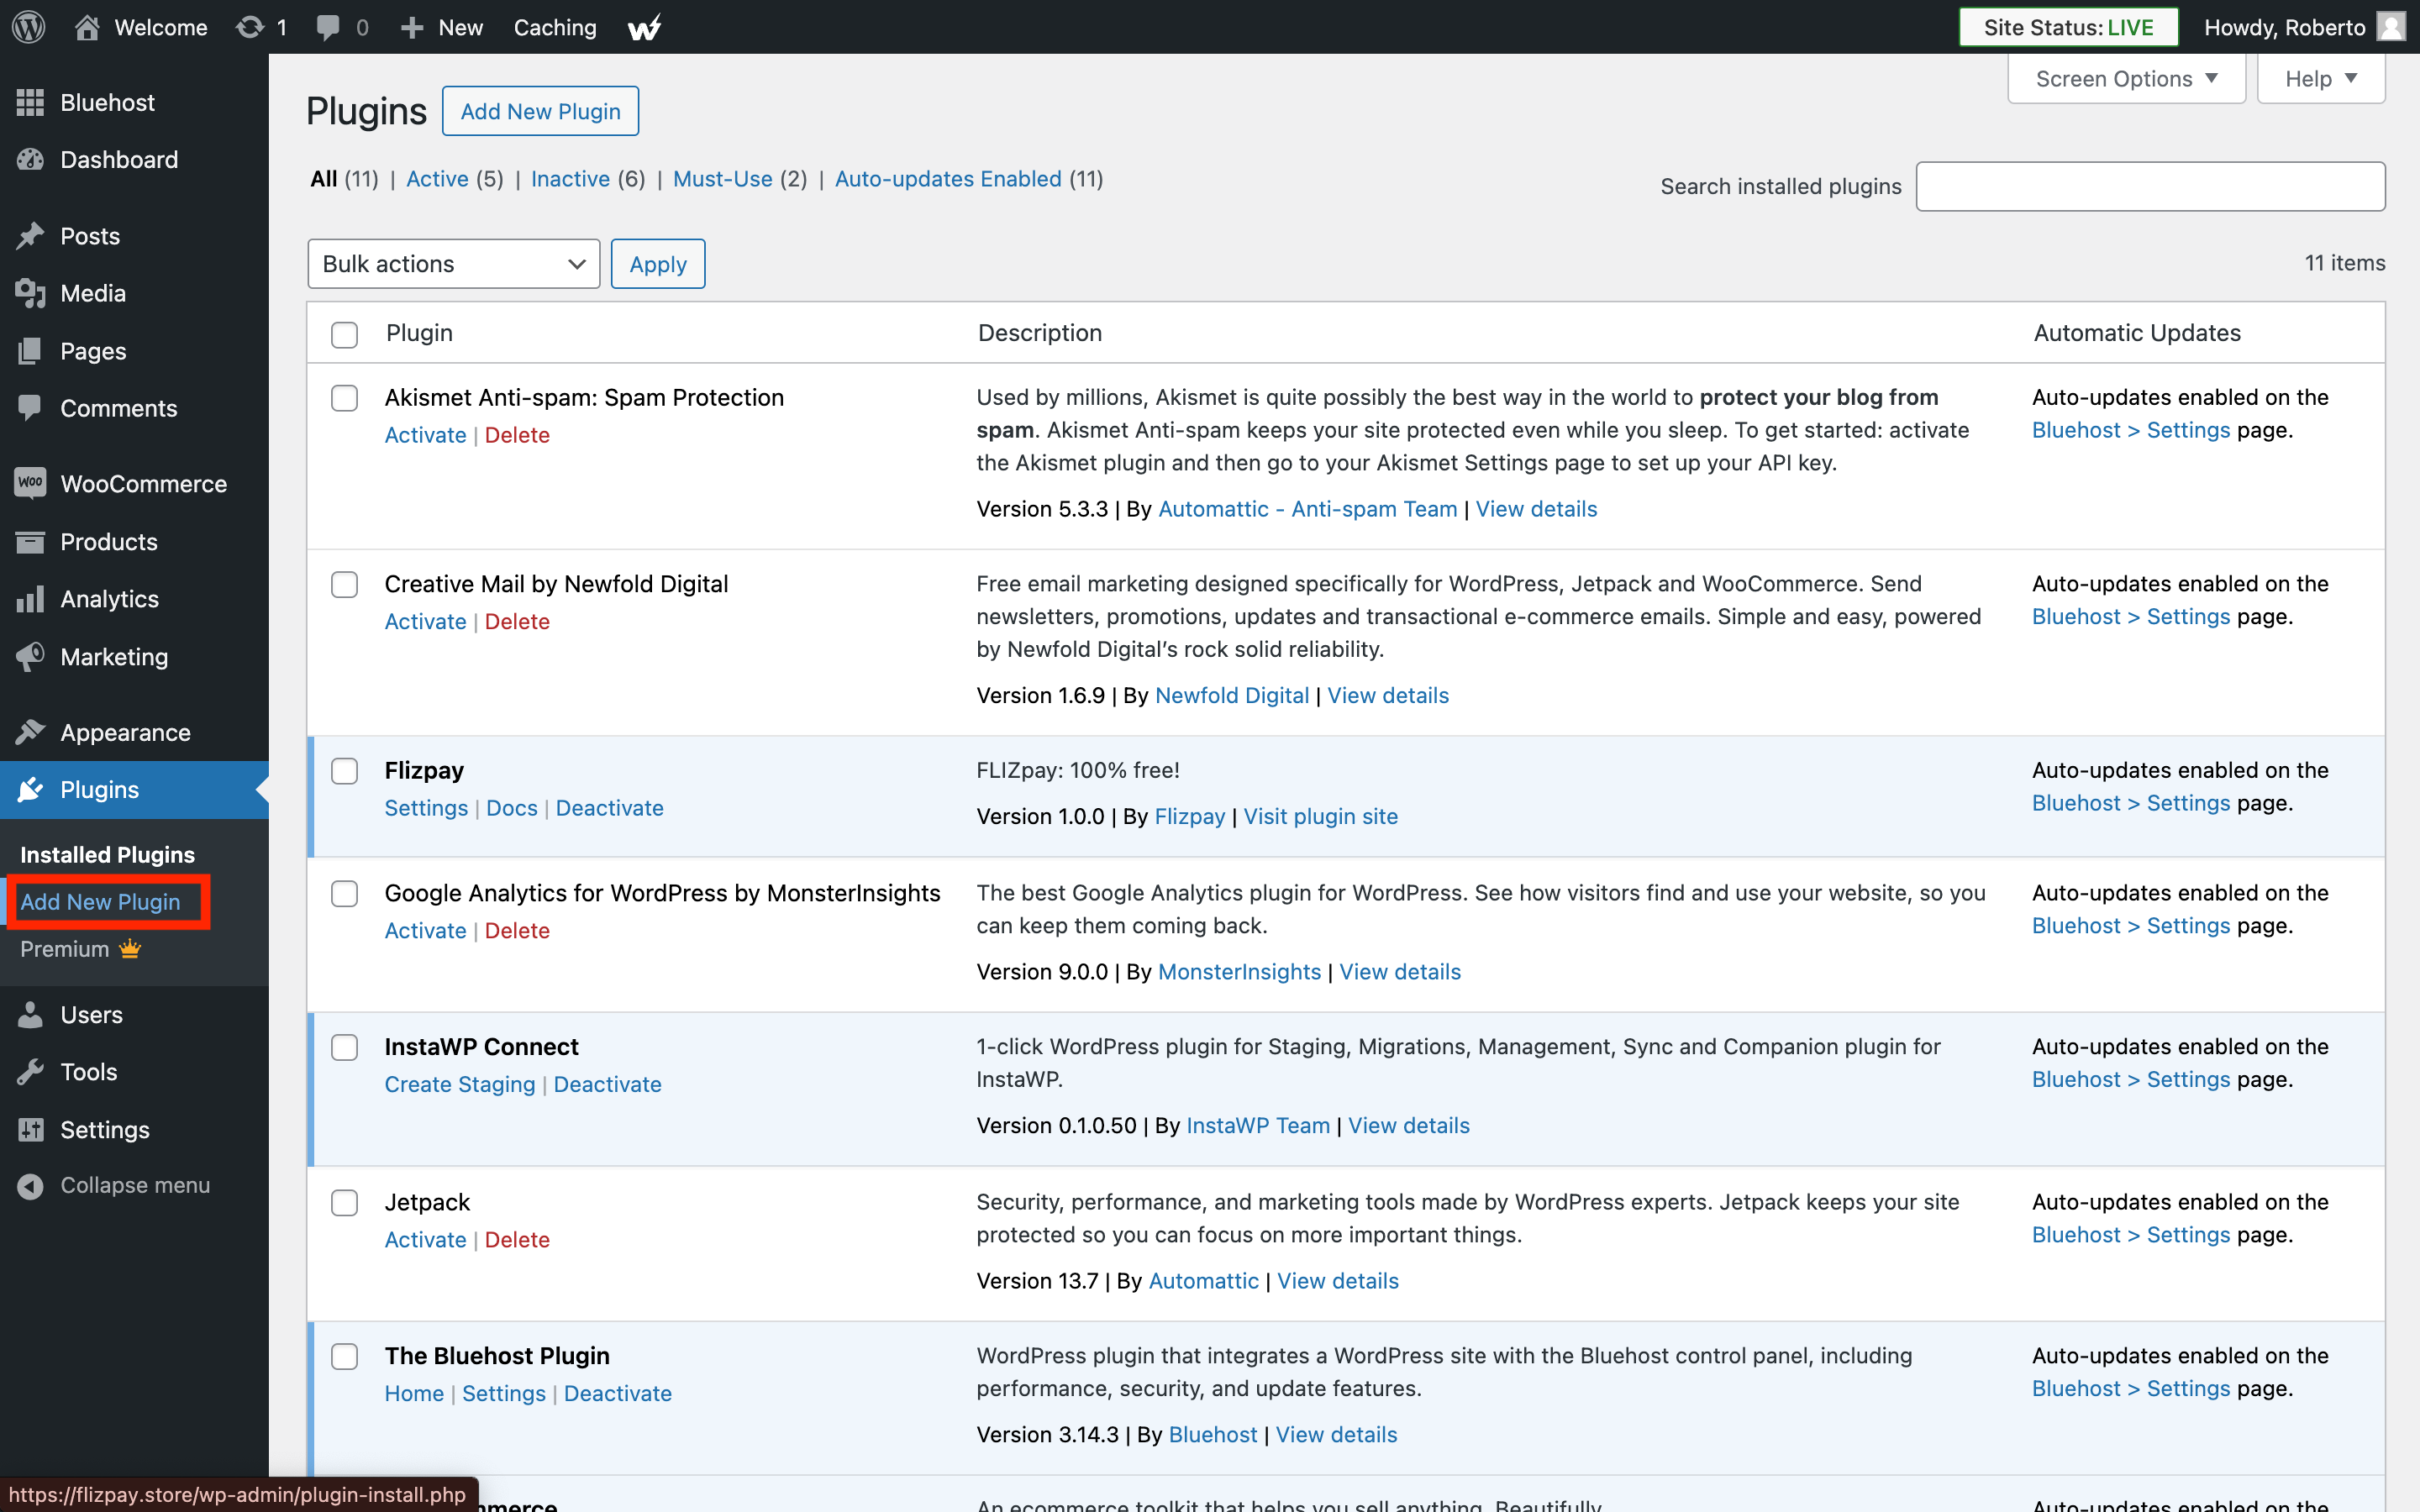
Now you can search for FLIZpay in the search bar at the top right of the screen.
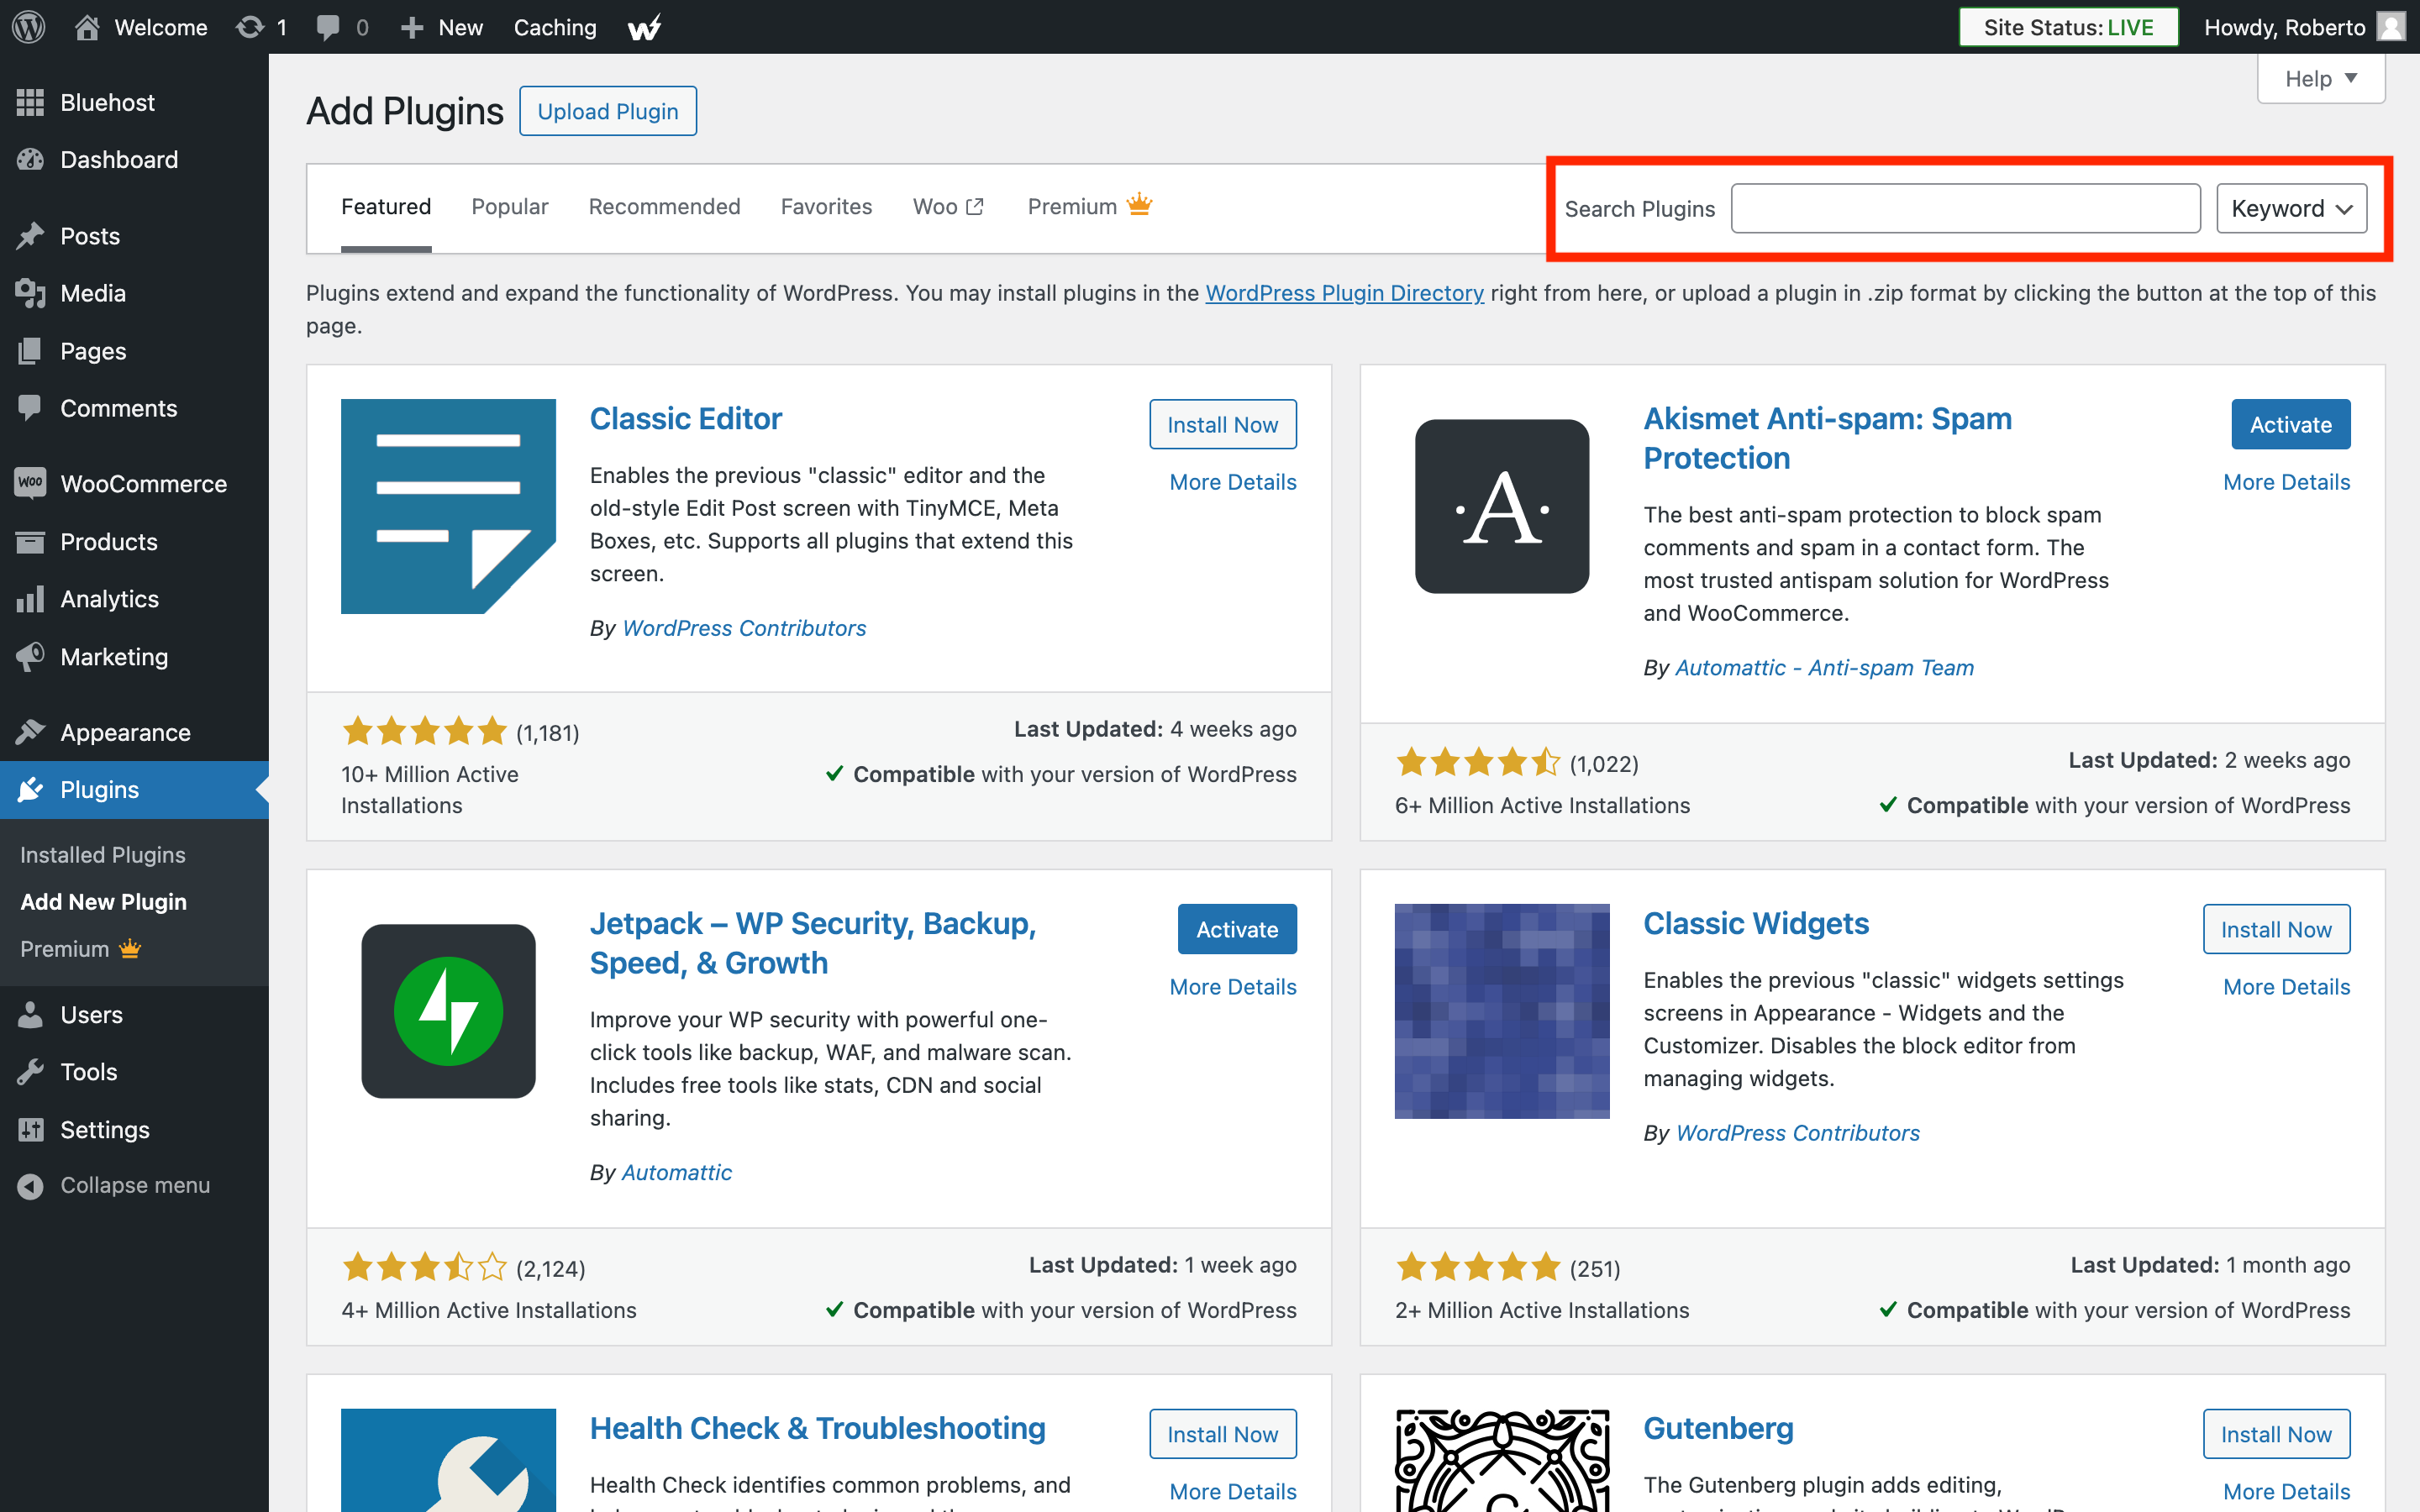
The FLIZpay plugin will show and you can click on Install Now.
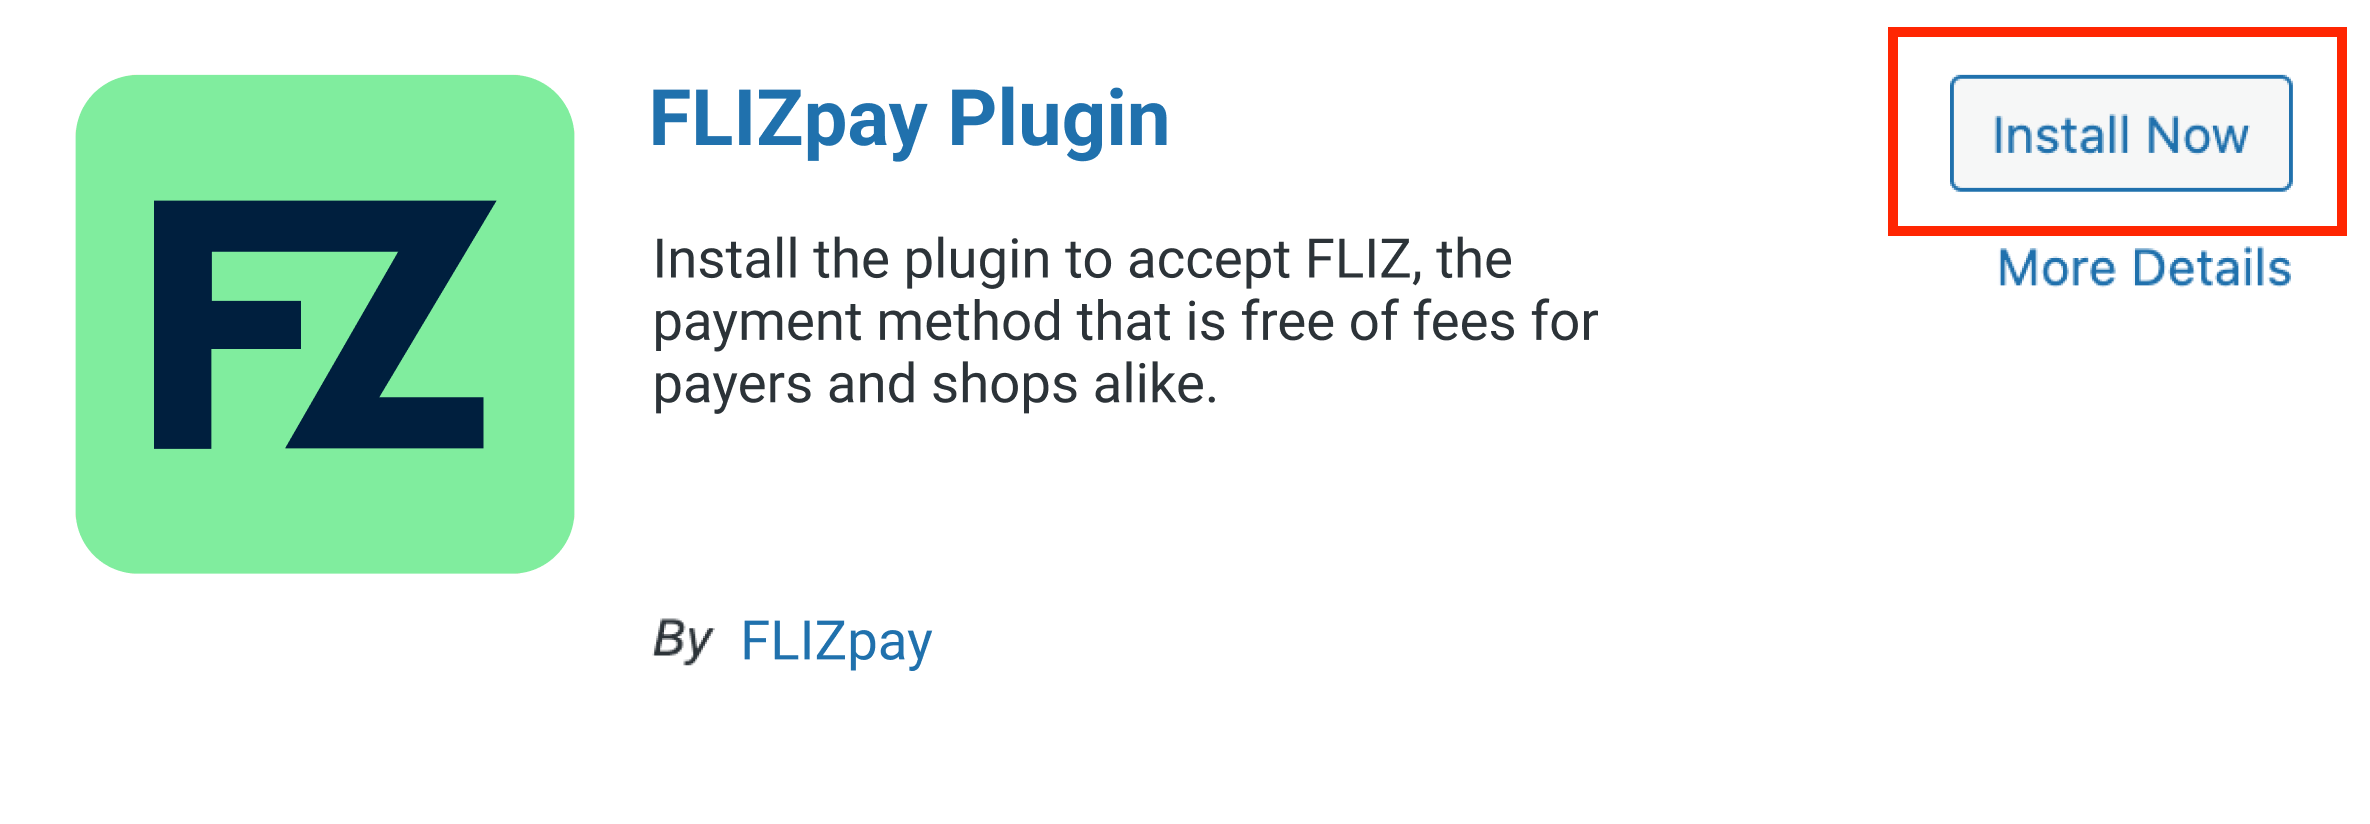
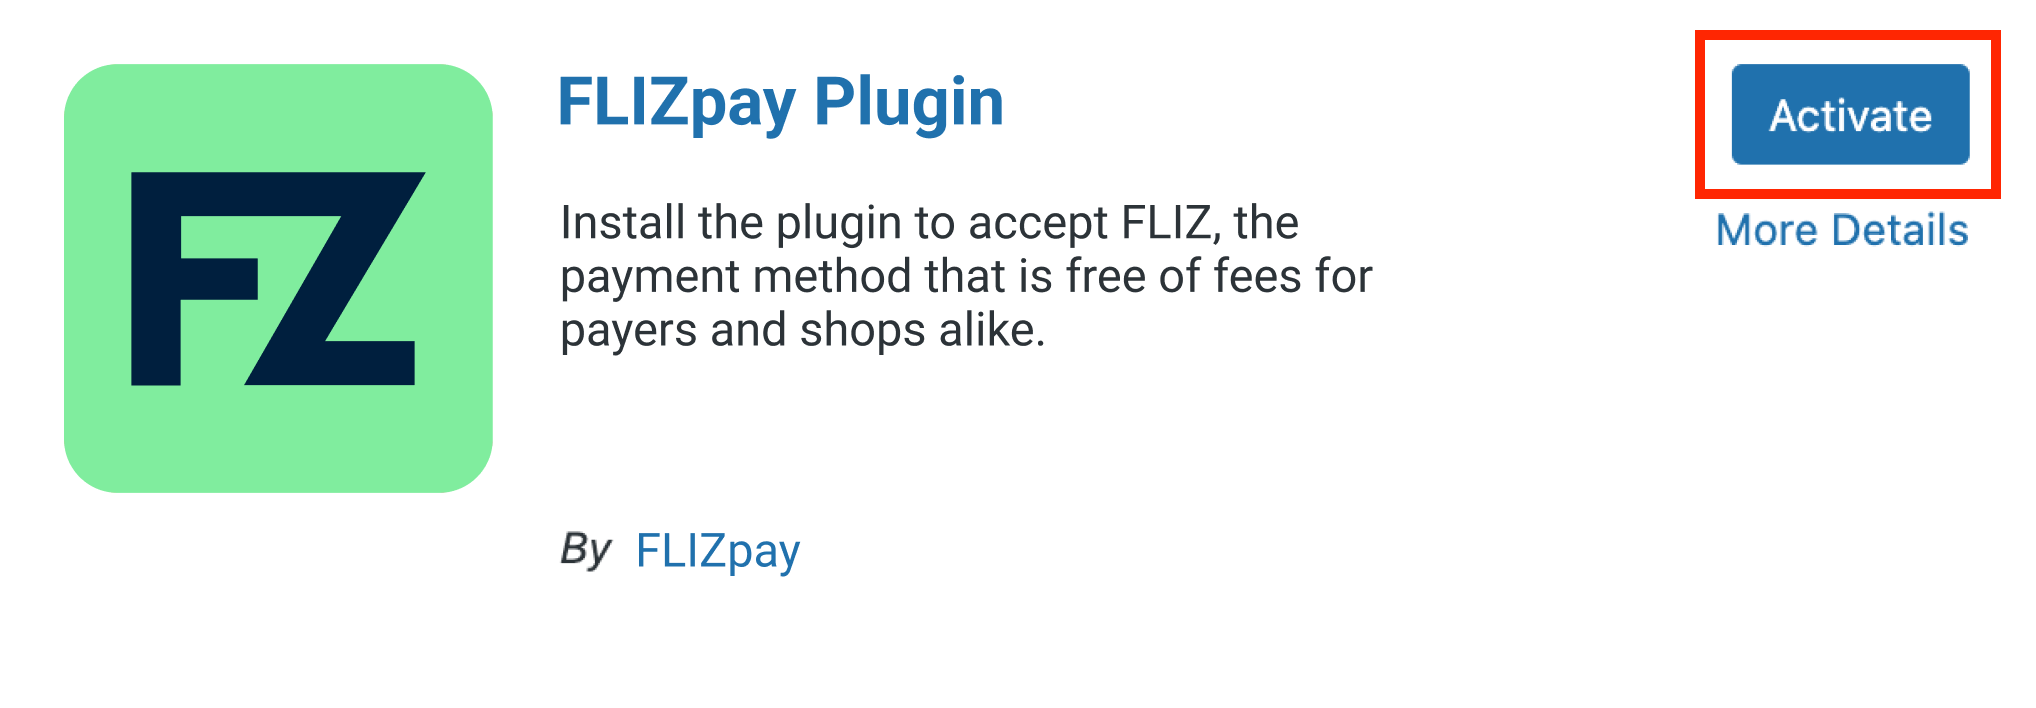
Activate FLIZpay plugin
Once the installation is complete, you can click on Activate where it previously said Install Now. This will automatically take you to the installed plugins screen. (Alternatively, you can click on Installed Plugins in the menu on the left. Then, in the row for the FLIZpay plugin, you need to click on Activate.)
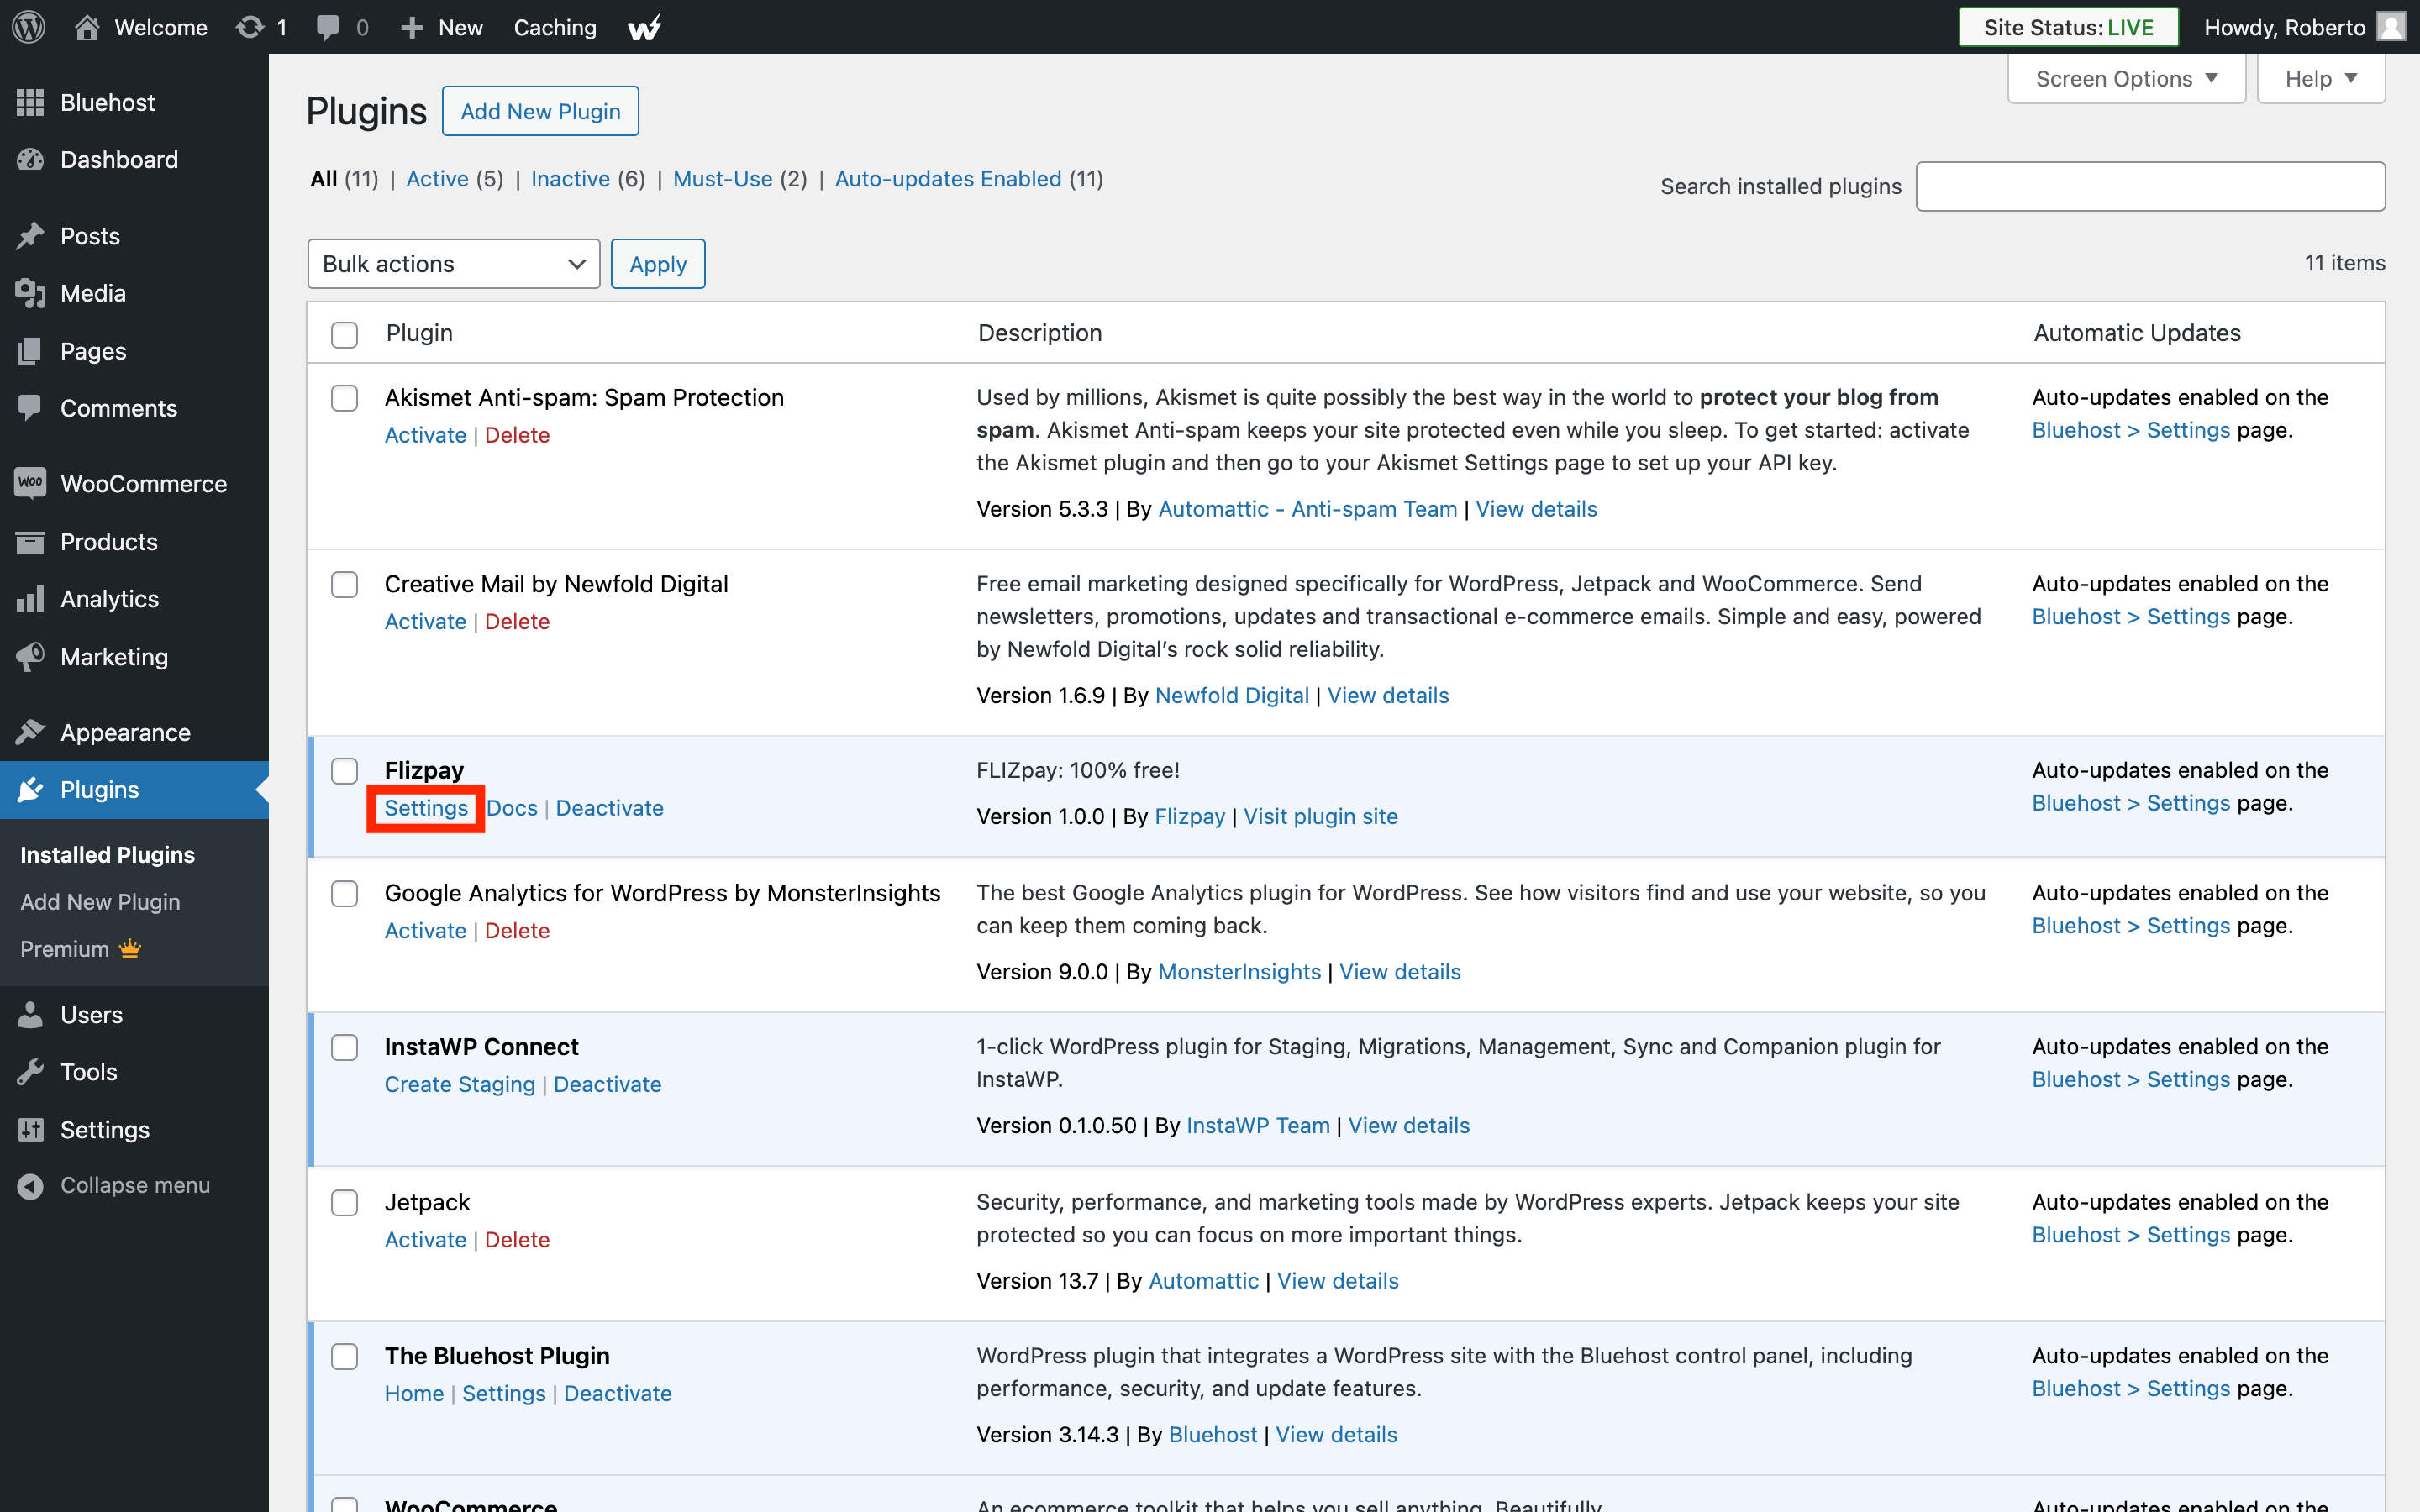
Once activated, click on Settings in the row of the FLIZpay plugin. This will show you the FLIZpay plugin settings page.
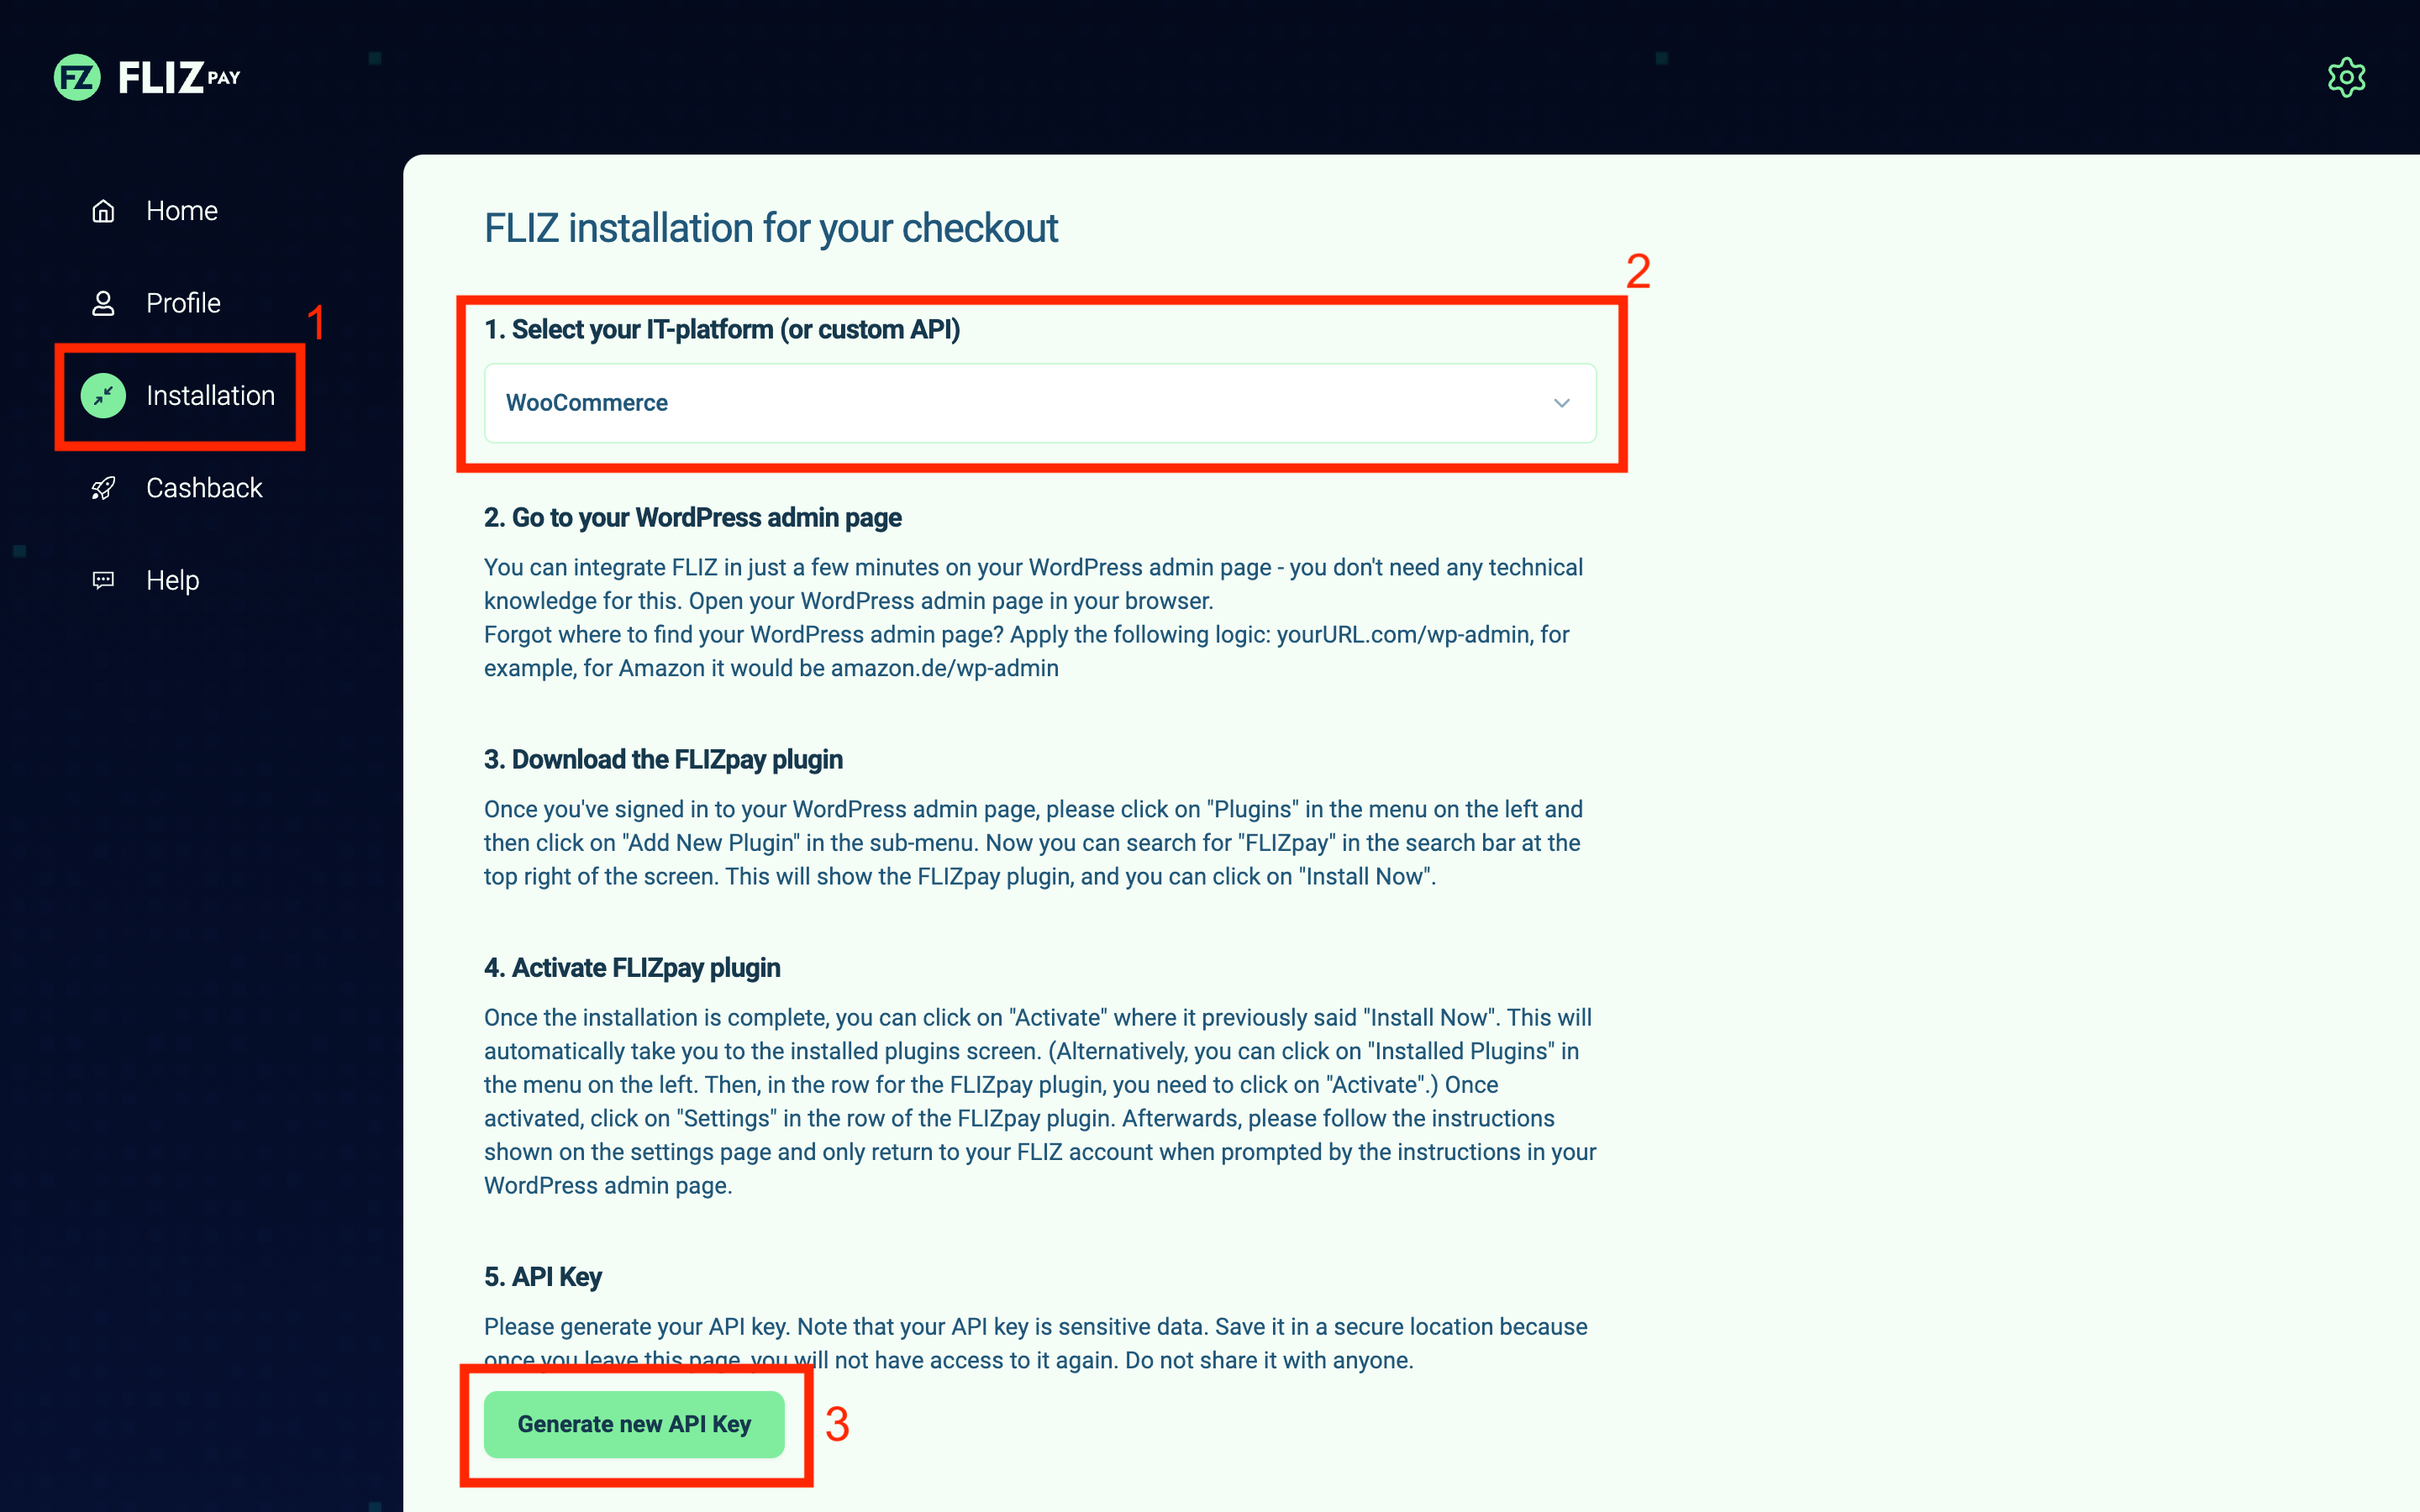
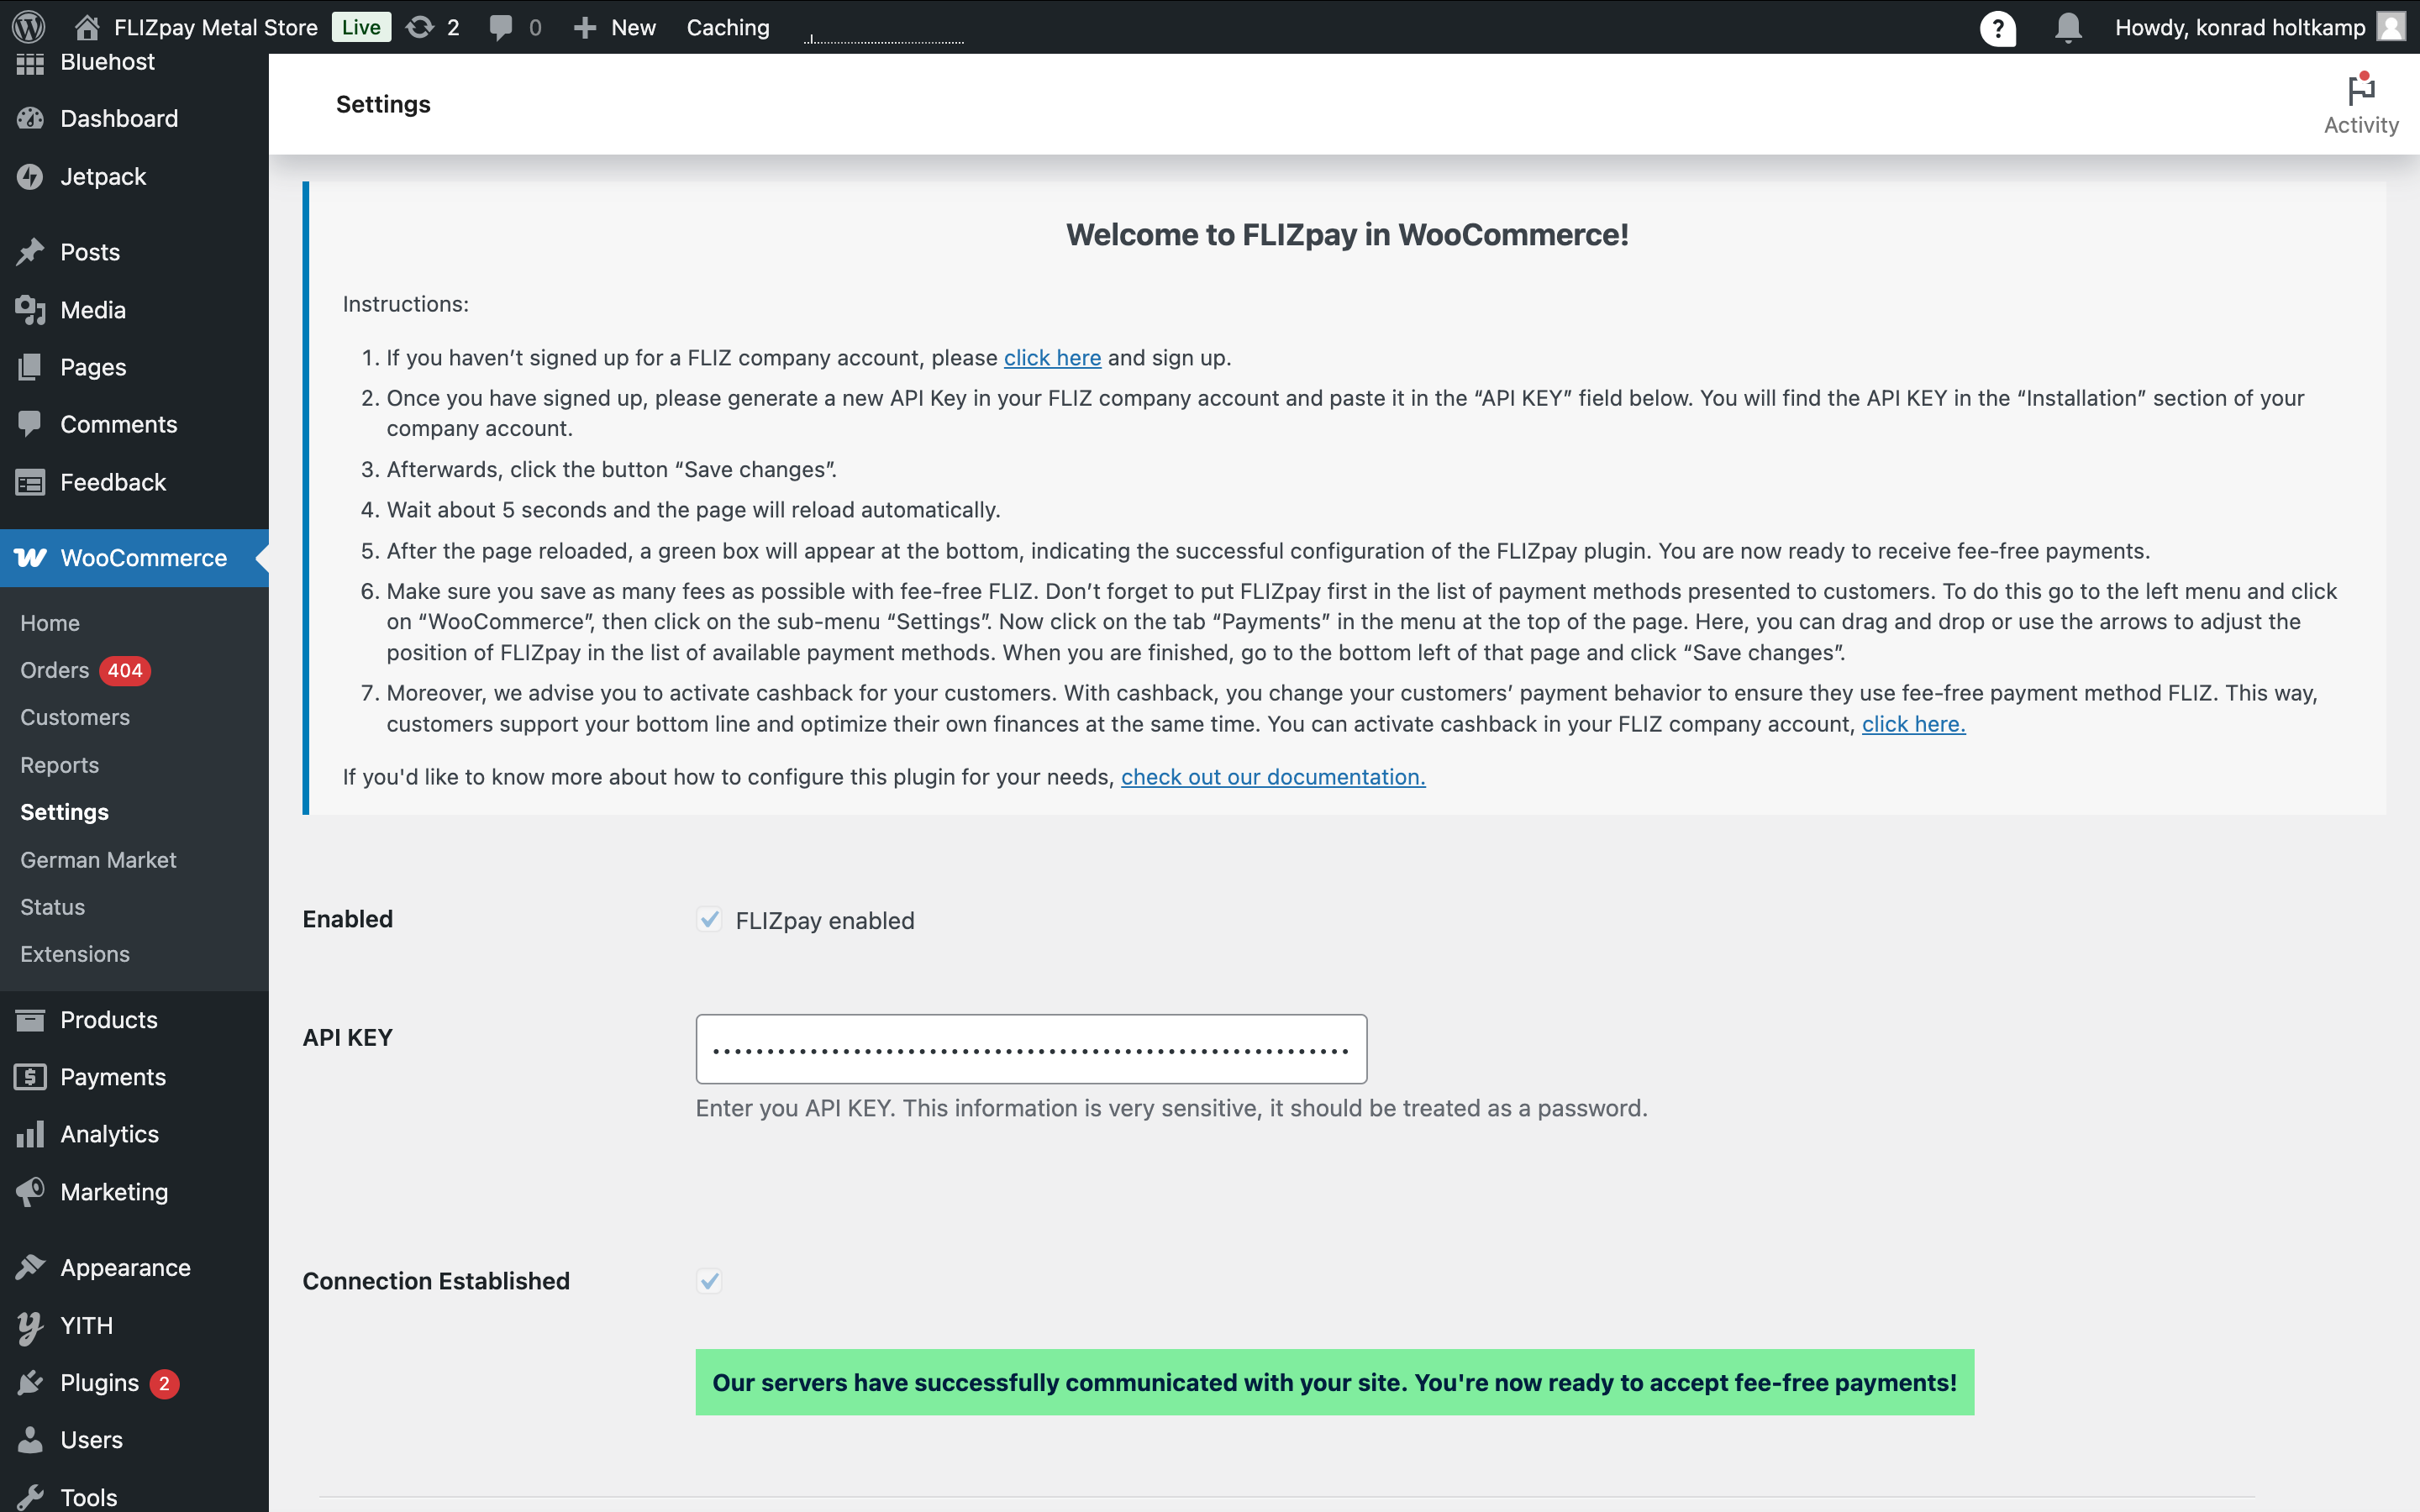
As mentioned on the FLIZpay plugin settings page, as a next step you need to generate a new API key in your FLIZ company account.
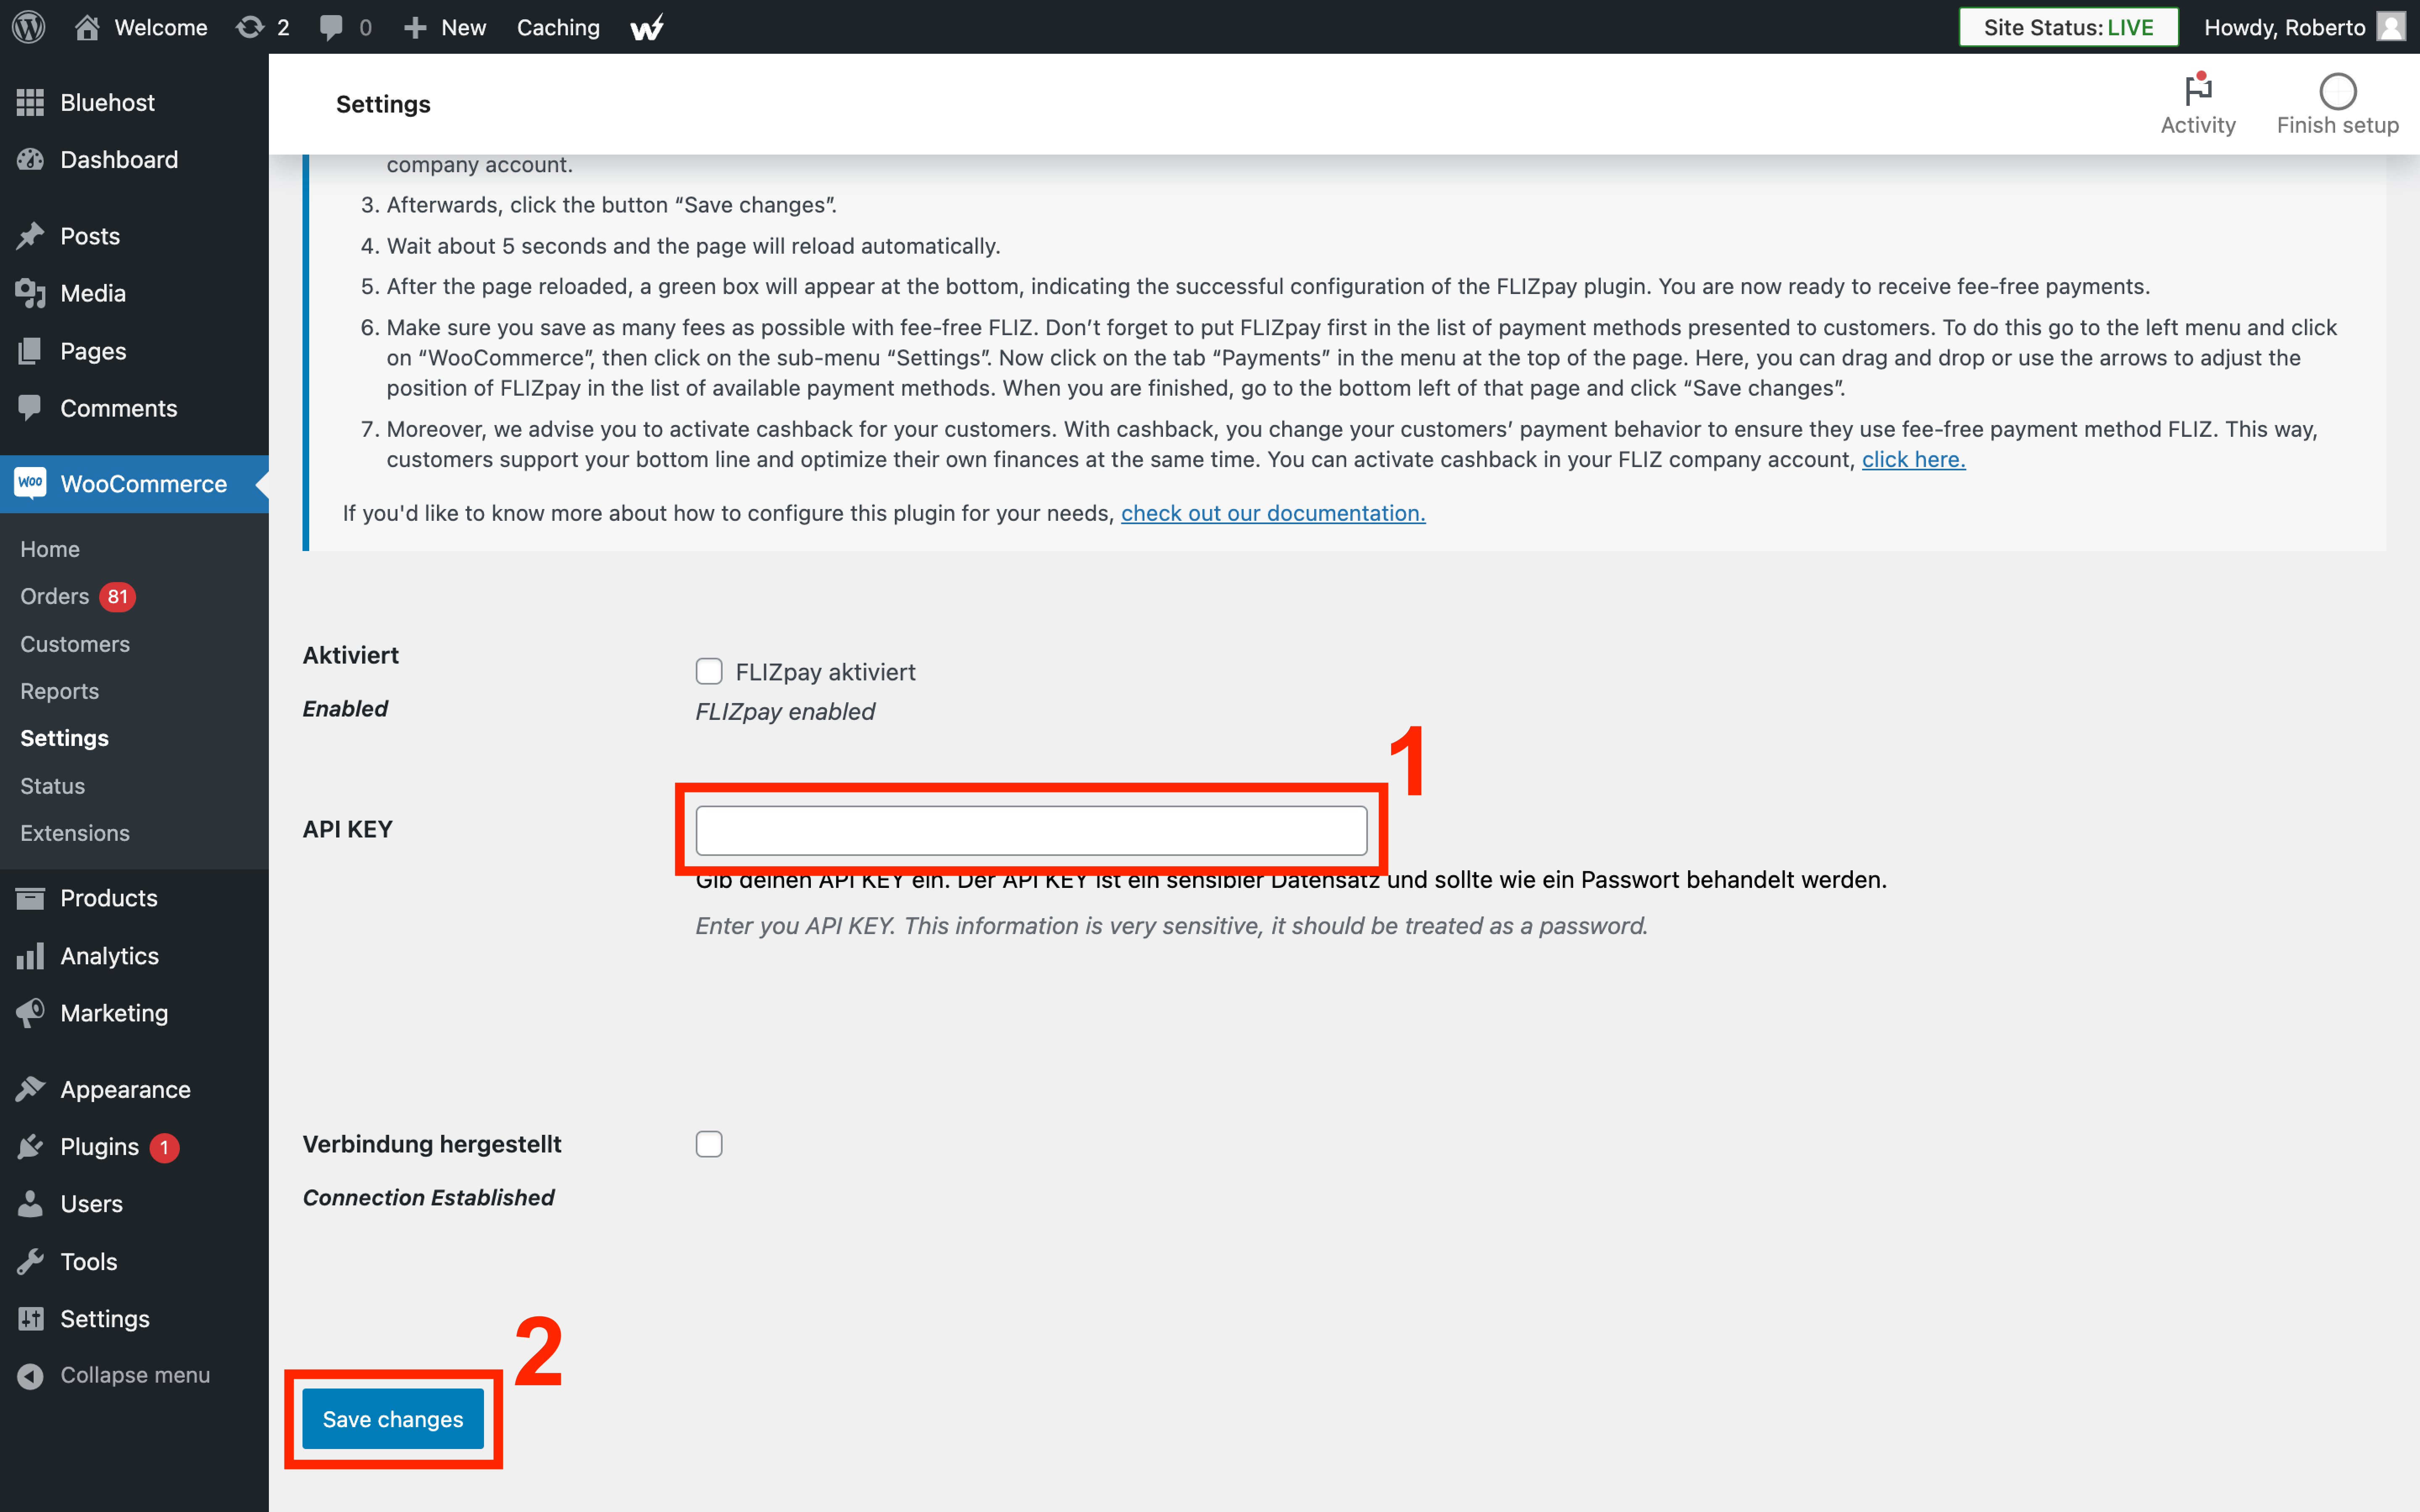
Copy your API key from your FLIZ company account in order to paste it in the "API KEY" field of your FLIZpay plugin settings page. Afterwards, click the button Save changes on the FLIZpay plugin settings page.
Follow these best practices to protect your API key:
- Do not store your API KEY in notes, physical notebooks or anywhere else.
- Do not share your API KEY with any kind of online or offline service other than FLIZpay Woocommerce Plugin.
Wait about 5 seconds and the page will reload automatically. After the page reloaded, a green box will appear at the bottom, indicating the successful configuration of the FLIZpay plugin.
Make FLIZpay visible
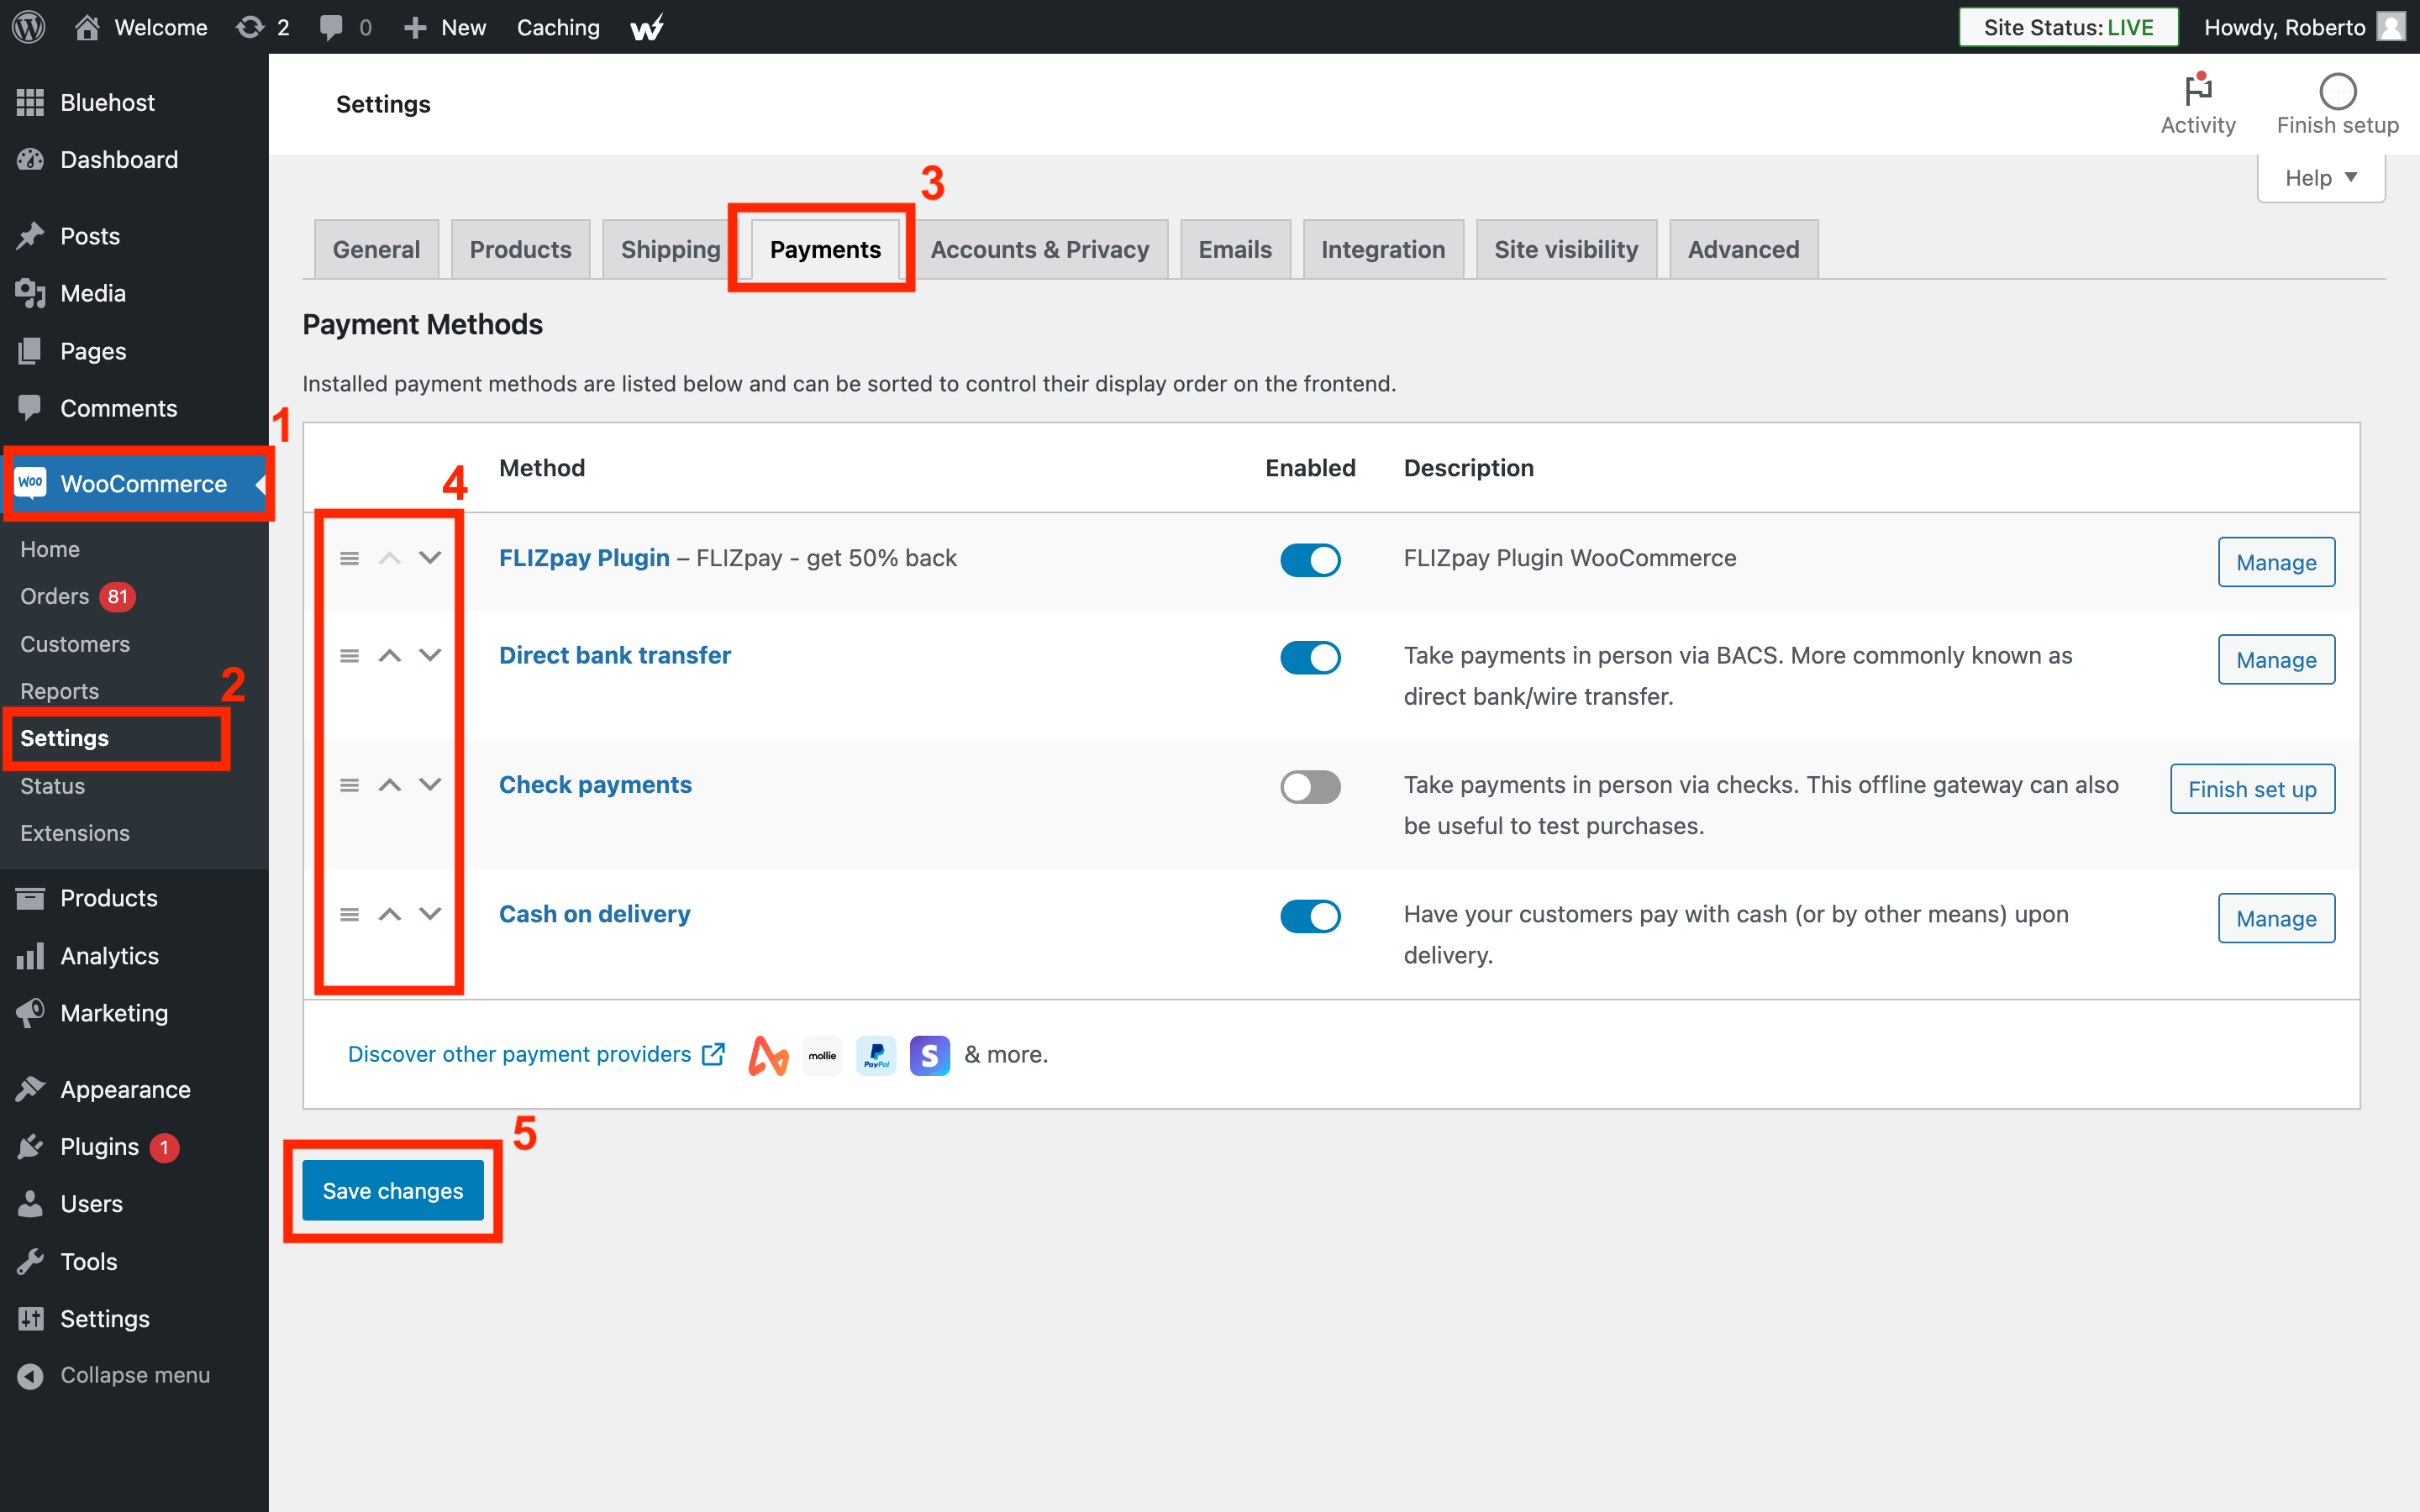
Make sure you save as many fees as possible with fee-free FLIZ. Don't forget to put FLIZpay first in the list of payment methods presented to customers. To do this go to the left menu in your WordPress admin page and click on WooCommerce, then click on the sub-menu Settings. Now click on the tab Payments in the menu at the top of the page. Here, you can drag and drop or use the arrows to adjust the position of FLIZpay in the list of available payment methods. When you are finished, go to the bottom left of that page and click Save changes.
Cashback
We advise you to activate cashback for your customers. With cashback, you change your customers' payment behavior to ensure they use fee-free payment method FLIZ. This way, customers support your bottom line and optimize their own finances at the same time. You can activate cashback in your FLIZ company account.
That's all! You are ready to accept FLIZ payments, 100% fee-free!